Tag Archives: vintage art

Vintage Art Microscope Slide Christmas Ornaments

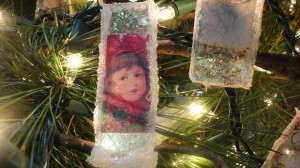
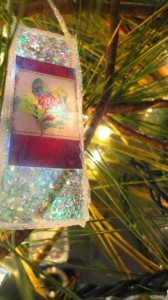
I had a wonderful customer from my Etsy store make these lovely Christmas ornaments using my vintage collage designs.  I’m in LOVE with these!Vintage Christmas Microscope Slide Ornament 1 She graciously offered to share her ideas and instructions for others to enjoy.  My thanks to Patti at ETSY DEARSHABBY SHOP (click on name for link) who developed these very thorough and easy to follow directions.  Her photos are outstanding, but I bet they can’t even begin to show the elegance of the diamond glitter encrusted beauties 🙂
Here’s what you’ll need:

Microscope slides (buy on line for a very reasonable price)
Digital Download images available on Etsy from AudreyJeanneRoberts (or other wonderful Etsy artists as well )
Decoupage Glue
Detail Paint brush (to apply the decoupage glue to slides)
A pop-sickle stick if you don’t have a decent thumb nail
Glitter in assorted colors and sizes
Diamond Dust ( Large container ) of glitter
High Gloss top coat spray
Rainbow Gallery Plastic Canvas 10 (this is in the jewelry making department of your favorite craft store.
Preserve It spray (a strong hairspray will also work )
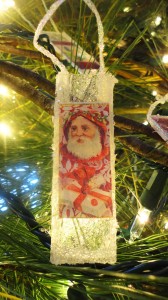
Vintage Santa OrnamentI’ve found that the most efficient way to do this project is to do each of the steps all at once. Meaning that instead of completing one piece at a time, do step one to all of your pieces, then step two, step three and so on. It works out much better for you if you do it this way.
Here’s our first step.
1. Decide first how many pieces you’ll want to make. Do you want to just experiment for now? Or would you like to create about 25 of these to hang on your tree?

2. You’ll want to go to AUDREY JEANNE’S ETSY SHOP. (This set used is found here: VINTAGE ANGEL)
You will see ALL of the beautiful digital downloads in her store but I was looking for Christmas items so I searched Christmas once I was in her store.

3. Once you have printed out your images you will want to protect them from running which can happen with ink jet printers. If you happen to have a laser printer~ you can skip this step. You can either use “Preserve It” spray, available from your craft store, (look in the art section or the scrap booking section) or a very strong hairspray. . Spray a very fine mist over the whole page. You don’t have to soak it, better not to. It will dry within 15 minutes
Vintage Ornament Craft Instructions4. If you have a “Cutterbee Cutterpeed” Cutter or any paper cutter like we used in grade school, that’s the best way to cut these out. Cut out strips first then with your scissors you can cut the individual clips out. They come in sizes of 2 inches long. You want them to be able to fit on the microscope slide so you’ll want to cut them into strips.

5. Once you have all of your pieces cut out, dip your detailed paint brush in the decoupage glue and apply a small amount of the glue on just one side of the slide. Don’t cover the whole slide only because you don’t need to. Just put a thin layer where you will be applying your image.

6. Center the image face down so that the picture will be showing through the front of the clear glass. Use your thumbnail or your popsicle stick to remove any air bubbles and excess glue. Please don’t skip this step, there will be air bubbles and excess glue. Just make sure you don’t rub too hard.
7. Put the pieces aside to dry. If you can place them in sunlight (indoors) or near a heat vent, all the better.
8.Once they are dry, grab your glitter glue. . I am using different colors of glitter on each one . Place the glitter glue on the same side of the glass as your image. So the glitter will be behind the glass. It is just as brilliant and the glue dries clear.
9. Once the glue is dry, (place them in the sunlight or near a heat vent. If you have a small bathroom where you could shut the door and let the heat turn the room into an arid environment, all the better). 15 minutes if you have them in the bathroom and 25 if the conditions aren’t so dry. Take them outside or in a well ventilated room and spray the high gloss top coat on the back where you’ve done all the work. This way you won’t have glitter falling off whenever you handle the pieces.
10. Next, let’s take a hot glue gun or if you don’t want to work with that kind of heat, a jewelers glue that works on glass would be fine, and in small sections, add it to the edge of the slide. Then quickly take your ” Rainbow Gallery Plastic Canvas 10″ and line the edge. Do this all around the edges. When you’re done, add glue all around the edges again and only working in small sections, dip the glued piece into the large container of Diamond Dust. Tap the excess off each time you bring the slide out of the diamond dust. Now turn the piece over and using your same glue attach the Rainbow Gallery string in a U shaped pattern on the back so that you are now able to hang your pieces.
The other great thing about this project is you can follow these instructions for all different holidays and just hang the slides in sunny windows.

If you are going to have a Christmas cookie exchange or a party, these would make a fabulous favor gift tag on your packages.  Just add a beautiful ribbon and use to tie on a package or bag.  Is it Christmas yet?!

To Warm Your Heart New, Coastal Beachy Collections

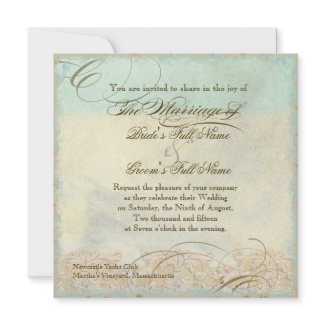
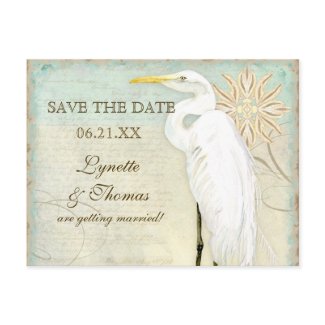
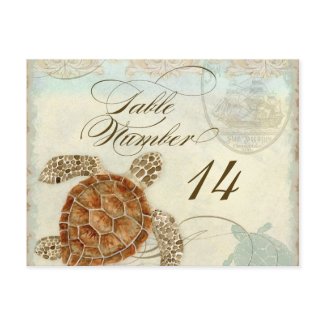
A New Year means time for new art!  I’ve been working hard on some new coastal, beach style artwork and just finished this collection enough to have it designed into 3 complete wedding ensembles.  If you’re daring, they mix and match beautifully!

I have a Great White Egret, a Sea Horse and a Green Sea Turtle (by the way, did you know they aren’t green?!)  If you’re looking for destination wedding invitations, I can add the island or other name of your wedding location in the elegant calligraphy that is featured.

These are classic, elegant and yet very trend forward.  I hope you’ll enjoy taking a peek!

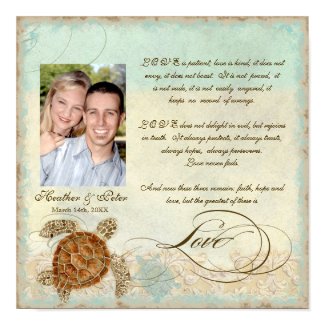
This collection also has several wedding or anniversary prints that are suitable for framing.  Shown here with the Green Sea Turtle design, this one is available in all three motifs.  Perfect for an upcoming wedding gift, for your own home or for a special anniversary.

If you’re a coastal person and have suggestions for other art I could add to this collection, please comment on this post I would LOVE to hear from you!

Just click on any picture and it will take you to that item in my Zazzle store.  From there, if you would like to see more options of items available, just look above the image and you’ll see a file tree that looks like: AudreyJeanne > Everything Wedding! > Beach – Coastal – Ocean > Sea Horse.  The last name listed is the specific collection and the ones prior to it are the various section in the store.  You can also copy the title of any item in the search function and it will show you all of the items available in that collection design.

Coming Soon, First Release Today

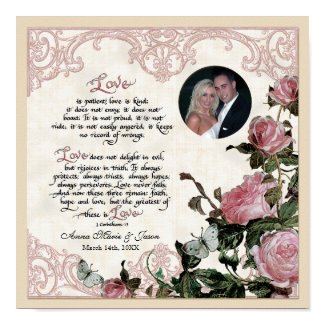
NEW!  Personalized art prints suitable for framing.  Available for wedding or anniversary gifts.  Personalize with your names and dates.  Sizes available both 11″ square (fits nicely on a 12″ scrap book paper in a 12″ scrapbook) and 12″ square (fits stock frames designed for scrapbook pages).

I began my business many years ago as a calligrapher.  At the time I didn’t know how to paint or draw.  In designing calligraphy pieces for people I discovered that I needed to find ways to add color and interest to them and thus began my journey into the world of art.

For many years we had a framed print line that we sold at craft fairs all throughout the state of California.  Our favorite being the Harvest Festivals.  Not a fall passes by that we don’t reminisce fondly about those days (amazing how memories of the pain and exhaustion passes after time, LOL!)

We also wholesaled our product to about 4,000 stores during the 90’s and up until 2006.  At that time it simply became too much to manage with the growth of my licensing business and the time commitments that were involved.  We have continued to sell to individuals over the years and have made dear, dear friends with many of our repeat customers – you know who you are 🙂

With my venturing into Zazzle this past year and especially with my growing wedding invitation business, it’s been much on my heart to bring back the calligraphy line but in a new way, with new art for a new generation.  Today is the very first piece that I am releasing.  These are being sold as prints that can be framed or displayed in a scrapbook.  You can order them and take them to your local Michael’s or frame shop.  They can be framed without mats or matted and framed as suits your decor.

Look for many more in the days and months to come.  What I love about this option is that I can do 30 or more versions of 1st Corinthians 13 and not have to have a catalog that shows them all!  The next designs to come will be my best sellers “Lord, Help me to Build a Healthy Child” and “To Build a Lasting Love.”

Also shown in this post are the Wedding Invitations that match.  This collection is called “Trellis Rose Vintage” and has a wide range of wedding related products created to match.  Perfect for spring and summer weddings, the collection will be fully finished by the New Year.  Click on any picture to go to that item in the store.

New “Vintage Roses ‘n Butterflies” Collection of Digital Art

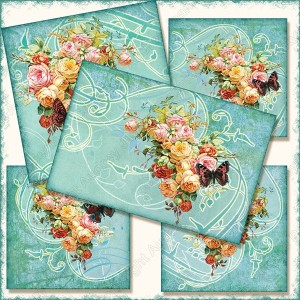
I am really enjoying playing with classic vintage art mixed with my own art.  There are quite a few sizes offered in this collection all of which will be found at my Etsy store Here are a few of the images of what is available.  Because of the way that Etsy works with a single listing for a product, I’ll link to the entire store, not the item in question.  They often sell in a day and that makes the link inoperable.

Shown are three different kits.  Each is allowable for small commercial crafting use.  This means that one person, crafting all their own items with home tools (no mass production equipment) can create physical crafts (not digital) to sell at craft shows, craft booths in malls and in online stores like Ebay and Etsy.

The first kit is one 4 inch by 6 inch postcard or card front with 4, 3 inch squares for greeting card making, magnets, gift tags or other uses.

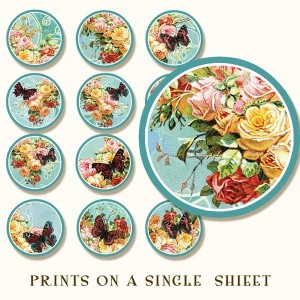
The second kit is a 1″ circle set for bottle caps, inchies, soldered glass pendants, pebble magnets and other uses.  The circles are available from 2 1/2″ on down to 7/8″ size.

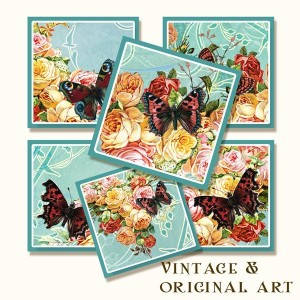
The third kit is a 2 1/2″ square set that is also available all the way down to 7/8″ size for a wide variety of uses.

There is also a design collection at Zazzle for Wedding, Bridal Shower and other invitations.  This design received a “Today’s Best Award” from the Zazzle Design Staff.  There is a complete Wedding Ensemble coming including Table Seating Charts, Table Cards and Place Cards.

TODAY’S WINNER FOR THE BLOG CONTEST DRAWING IS:

Cheryl!  She won her choice of any of the $4.95 kits at Etsy.

Thanks to each that wrote a comment, please keep it up.  I read and enjoy every one of them.  It makes me want to come blog more when I hear back 🙂

Brand New Wedding Ensemble, “Vintage Roses ‘n Birds”

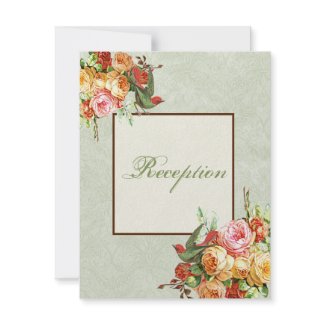
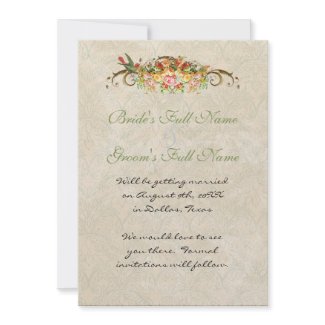
This Reception Invitation Card is designed to coordinate with all of the Vintage Rose ‘n Birds Wedding Ensemble. It is a hybrid of original watercolor artwork by Audrey Jeanne Roberts and vintage elements. A cluster of antique roses in pink, yellow and red is mixed with other classic blooms and two love birds. The elegant scroll work is contemporary artwork inspired by antiques. A soft damask pattern in a light mossy green finishes off the art.  There are several choices of invitations to select from.  You can find them by clicking on any of the pictures and going to my store.  Once there go to Everything Wedding/Green or VIA THIS LINK

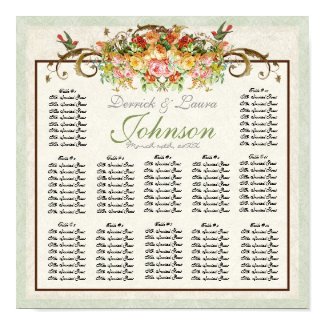
This Reception Table Seating Chart for assigned seating is designed to coordinate with all of the Vintage Rose ‘n Birds Wedding Ensemble. Easy to customize, you simply type your guest’s names in the field provided. You can delete tables, add names and move things around easily. I will design a table seating chart to match any wedding invitation ensemble in my store, all you have to do is ask!

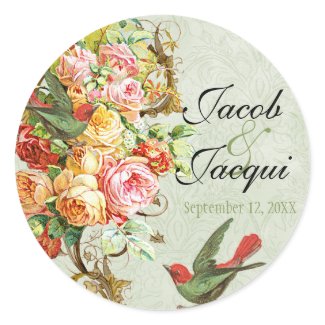
Perfect to use as seals for your envelopes, these stickers are easy to customize with your names and dates.  Not getting married?  These can become Address stickers by simply changing the text.  It’s very easy to do on Zazzle.

There is a huge selection of additional products that coordinate to fill all of your wedding day needs.  Every invitation can be changed to any occasion.  25th or 50th Wedding Anniversary?  Change the text to reflect your celebration.

The Blog Contest for August is closing tomorrow.  All you have to do to earn entries in the drawing is post a comment on any and or all posts in the month of August.  Each comment is an entry.  The prize is your choice of any of my $4.95 kits at my Etsy store!